Appropriate Techniques (Parallel editing)
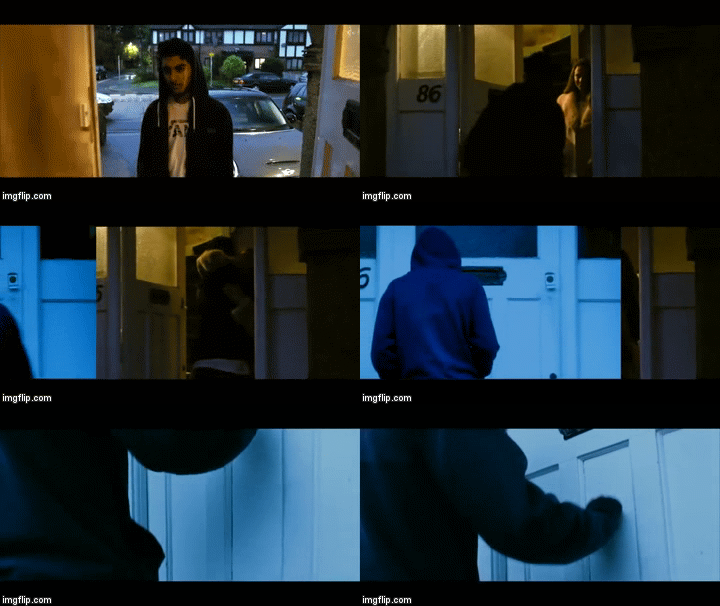
The technique that I have used in the ultra-short film is parallel
editing also called crosscutting. What this techniques initials is two or more
scenes that are happening at the same time that are cut from one to the other, they
should have a clear connections to each other.
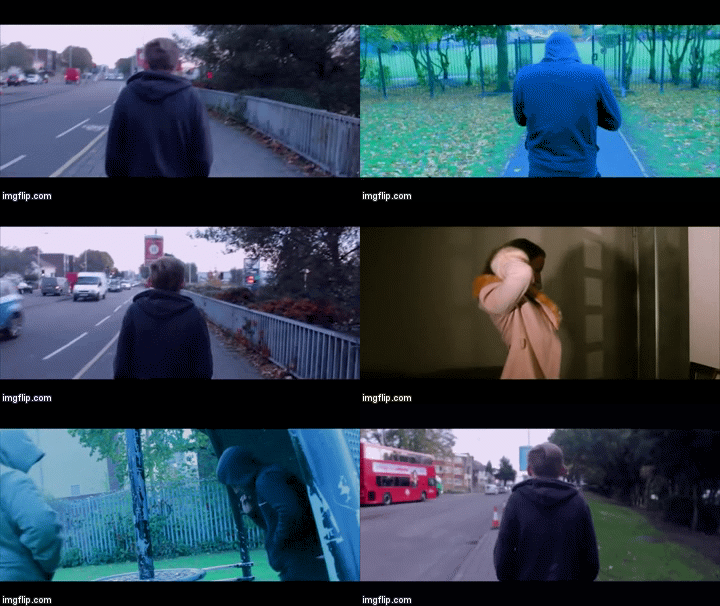
Where I had used this technique in the ultra-short film is at 1:15 to
1:40 what I had done to show this is that I had three different scenes that
were linked between each other. I had three actors that where doing some kind
of actions. For example the main actors in walking down the street. The drug
dealer is selling drugs and smoking drugs and the girlfriend is getting ready
to go out on a date.
How this Techniques impacts the audience is it made the audience ask
questions to them self of how the three scenes are connected, and who would the
boyfriend choose, would he choose the girlfriend or the drug dealer. Why I as a
filmmaker wanted to include this technique is that I wanted the audience to
gradually follow the characters storyline and to experience the journey.
Appropriate Transitions
The transition that I had use in the ultra-short
film that was unique was a swipe. What this transitions is that there are two
shots the first one is on screen then
the second shots comes swiping in from the left hand side. Transitions is
placed in every media where it places two shots together, example of what
transitions are commonly used e.g., cut, fade and dissolve.
Where I'd used a form of transition in the ultra-short film is at 1:53. What you can see on screen is that there are two actors that are hugging while the camera is tracking left, with a swipe of the next shot that links together. What the next shot includes is the main actors that walks up to the door and knocks on it, this is to represent the previous to make it seem like there both did the same action.
How this transitions effect the audience is that is gradually brings across the
main character change of actions that he had chosen the drugs dealer of the
girlfriend. Why I as a filmmaker do transitions like the swipe is to represent
the next short and what it may mean. As I had used a swipe to show the other
side the main character chooses.
Appropriate Conventions (Cutaways)
The convention that i had used in the ultra-short
film was a cutaway. What this convention does is that it is filler shot where
it could be placed in an interview, talents shows, and conversation in movie,
where this allows to cut down the duration of the shots and to make the scenes
look less jarring to the audience.
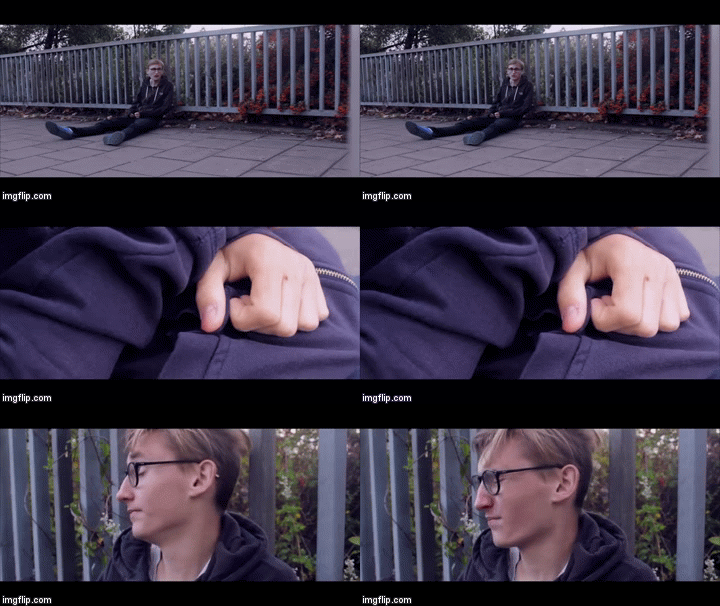
I had used a convention of cutaway in the ultra-short film at 0:24. What the shot denotes is that there is a shot of the actor’s left hand that is near his right pocket. This is a filler shot that allows us to cut the shot down to allow the next transition flow without looking jarring.
The effect that the conventions does to the ultra-short film, is from
the film maker view is that is makes the scene look smoother, as it make cover
up the jarring cuts. The effect that this has on the audience is that it gives
them a clue to what the cutaway may relate to further on in the scene.
Effective pacing
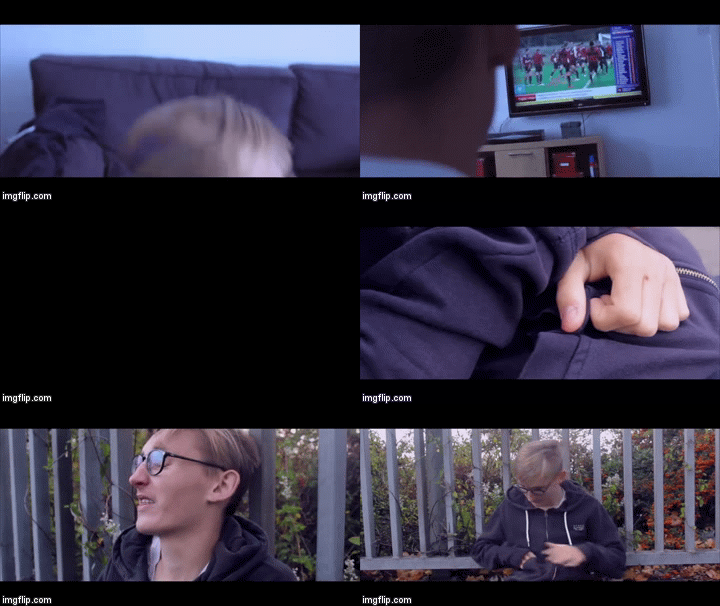
The effective pacing is where there is a clear
representation of two different speeds of cuts. The effect that the pacing
allows the filmmaker to do is to show the amount of intensity of actions from
the actor. This also allows the filmmaker to control the duration of footage to
shown to the audience.
What you can see in the ultra-short film is that
I've added fast and slow pace cutting to the film, where I've added fast cuts
is where the actors has taking drugs this a representation of fast thoughts you
have when you are on drugs this is shown at 0:12-0:20 and then it's changed by
the slow pace cutting to represent the aftermath of drugs and the slows
representation of the body of the actors recovered from the drugs this is shown
at 0:21-0:50
How the pacing of the ultra-short film effects the audience is that it creates
a representation of the drugs and the aftermath of the drugs. How I as a
filmmaker used this am to make the paces of the cut represent the mental and
physical representation of the character, I had done this to create an effect
on the cuts on editing.
Convey information effectively
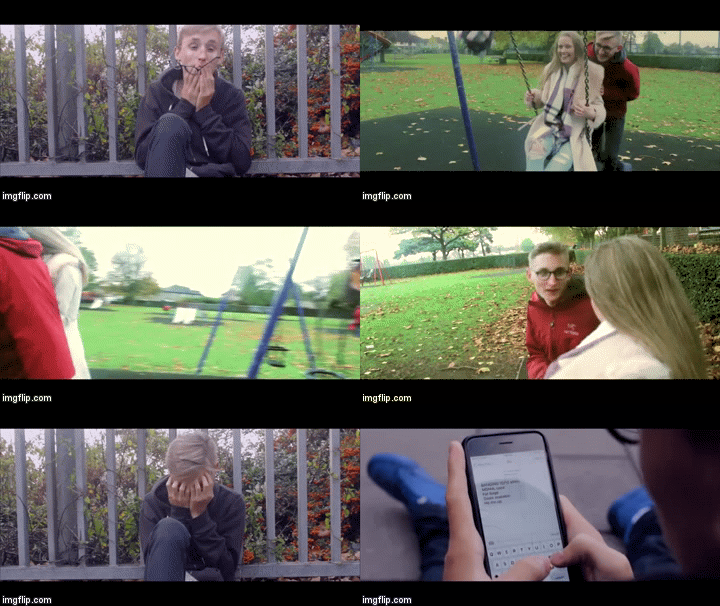
Convey information that I had included in the ultra-short film
effectively. It is where the information has been shown across in a clear
representation to the audience.
Where I have used to convey the information clearly in the ultra-short
film is at 0:51-0:58 second. The information that I have brought across is that
the boyfriend is feeling nostalgic and upset, why this is that he has to choose
his girlfriend of his drug dealer. This also brings across information that he
has a girlfriend and he is in love with someone.
How the convey information effectively effects the audience is that it
create more of a story. It give out more of the information for the audience to
understand what the story mean and what has happened in the past to the main
character, it gives background information of the character.
Use sound to create Impact
Use sound to create impact is a technique that is used to emphasise to
the scene. What this could also be called us motivated cut, were a sound is
placed to emphasise and the next scene. It is a specific sound effect this is
placed to create an impact on the scene.
Where I had used this technique in my ultra-short film is at 0:49. How
this is shown in this part is that that there is a motivated cut that is placed
in the part where the sound impacts the shots to trigger the motivated cut
scenes, the sound effect that is used is that a sound of notifications sound is
placed to trigger the scenes to create an impact and deliver more information
to the audience.
How the use sound to create impact effect the audience is that it
emphasise the scene, because it wants to stand out, as it want to show the
importance to the scene. I as a filmmaker wanted to do this because i wanted to
make the cutaway scene have a big impact to the storyline.
Synchronise sound and vision
Synchronise sound and vision, is another way of
saying cutting to the beat. It is where the beat of the soundtrack that you
placed in the film matches up to the beat of the soundtrack.
Where I had use the technique of
synchronise sound with vision is at 1:17-1:35. How this is seen at this moment
on the ultra-short film is that the parallel cutting of where the three characters
that are linked to each other are cutting to individual shots to match with the
beat of the music. The cuts are made every four beats of the music, what this
is called is cutting to the beat.
The effect that synchronise sound and vision does to the audience is it
keep them entertain, and engaged because the there is a sound track and cutting
to the beat have a music video effect to the ultra-short film.
Mixing soundtracks
Mixing soundtrack is done in the
process of editing it is where you level up the sound to be effectively heard
by other. Where this may be seen is the background music may be levels down so
the dialogue sound track can be heard by other.
Where i had used this editing technique of mixing
sound is at 2:13-2:24. How this is used at this moment is that the back ground
music is level down so the audience can still hear it but is not interfering
with the sound track of the dialogue from the characters, which has been placed
up to 1db to put more emphasis on the characters dialogue.
The impact that this mixing soundtrack had on the
audience is give them a more realistic environment when watching the film, as
it define the environment that the film was shot in. Why I as a filmmaker want
to do this is to create live into the locations and to create representations
of the location that the character is in.
Overlap sound
Overlap
sound is where you use more than one sound track over the video. What this may
be heard as being the sound of the character speaking, with a wildcat sound and
a music sound track in the background. This is seen as one track on top of the
other.
Where
I have used the overlap sound in the ultra-short film is at 0:58. What you can
hear at this moment is three different sound track that have been over lapped
on top of each other. The first sound you can hear is the dialogue of the
character of what he had said, then you can hear the wildcat in the background
to match the setting of where they are and the final track is the music sound
track of romantic music to convey the mood at this moment.
Why as a filmmaker I would use to overlapping sound
is that I wanted to cover up more of the empty space with sound that could have
effect the representations of the scene. The effect that this has on the
audience is that gave them an idea of what the scene was going to be about due
to the multiple sounds that was overlapped.
Offline/online editing
Online editing is the actual editing
that you do on the computers in this case is was an I-Mac and offline editing
is checking the shooting script to see if all the shoots are there that were
meant to be filmed.
What I had done in this step is that I
had pre done the scrip, as this was the pre-production stage of the productions
and it was filmed on the day of the productions and online editing was done in
the post production stage of where the footage is editing of was final cut x.
what you can see on this stage is the timeline of where the footage was
stitched together.
The effect that the online and offline editing does is that it allows me as a
filmmaker to control of what i would be include in the final cut. As offline
editing gave me a structure of what i will be editing at and online editing
made me create what was on paper onto the screen.
On screen text

The on screen text is the, typography that is
placed in the video, where this may be seen is in the intro, outro or other
places in the video to display information. It is text that helps the audience
to get more information from the video to understand the narrative.
Where I had placed the screen text in the ultra-short film is at 0:02-0:04. How this is placed in the ultra-short film, is that the background is blurred out, and then the text flickers in, with is done by a key frame techniques, the text has a red outline so it could stand out from the background. The sound transitions is match with the heart beat as it flickers in on a heartbeat and flickers out on a heartbeat.
The effect that on scene editing did to the ultra-short film is that it directed to the audience of what the short film was about. Why i as filmmaker use typography in the film was to give a hint of what the film may be about and the colour that is used to represent the mood of the short film as i had used red to should that the short film may shed blood or be romantic.
Image Editing
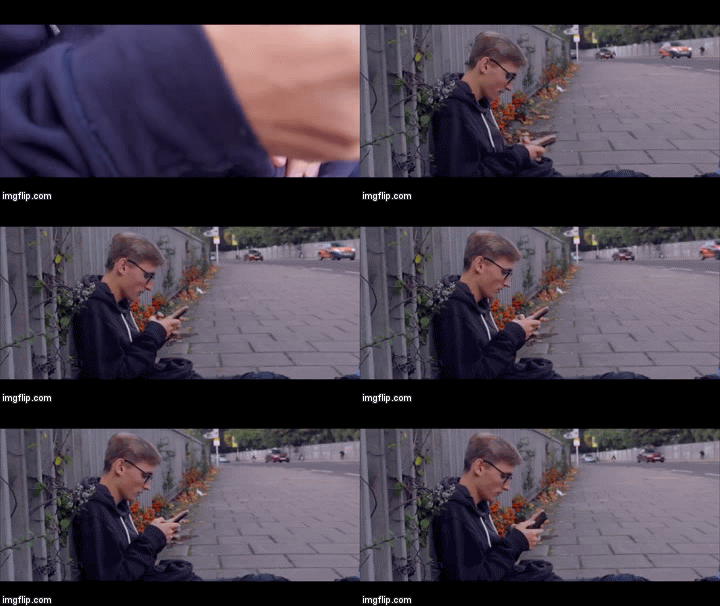
Image editing is the editing that you have done on the visual side of
the video. What image editing may mean is colour correction, colour grading,
effects and cropping. This is used to make the video look to of a more
professional standard.
Where I have used image editing in the ultra-short film is at 0:36. What
you can see on screen is the side of the character that is sitting on the
ground outside. The editing effect that I have done is that i have placed an
effect on the footage of letterbox where is cropped down the video to have the
ratio of a cinematic film, then I had added a lumer effect to make the look
seem dark and then I had colour graded the footage to look blue to the footage
had a mood of lifeless.
The effect the image editing has to the ultra-short film is that it
allows the footage to look more meaningful to the audience. Why the film maker
might want to do this is to create an emotions to the scenes, and indicate to
the audience of what there should feel when watch the scenes.
Audio Editing
The audio editing is the editing that you do for
the sound/audio side of the video. What audio editing may mean is the effect
that is placed on the audios that could improve the sound of the audio or the
change the sound of the video.
Where I have used audio editing in the ultra-short film is at 0:26-0:35. What you can hear is the wild cat that i had placed in the background. The effect that I had placed on the wild cat is that I had done a process of noise removal to make the sound of the wildcat for smooth without is high pitch level or wind placed in the sound.
The audience affect that audio editing has on the ultra-short film is that is make the footage feel fuller to the audience. What the audio editing is the most important elements when it comes to editing is this turns an empty shot to more active shot that create more of the storyline.
